Banana Chia Pudding Recipe
Introduction
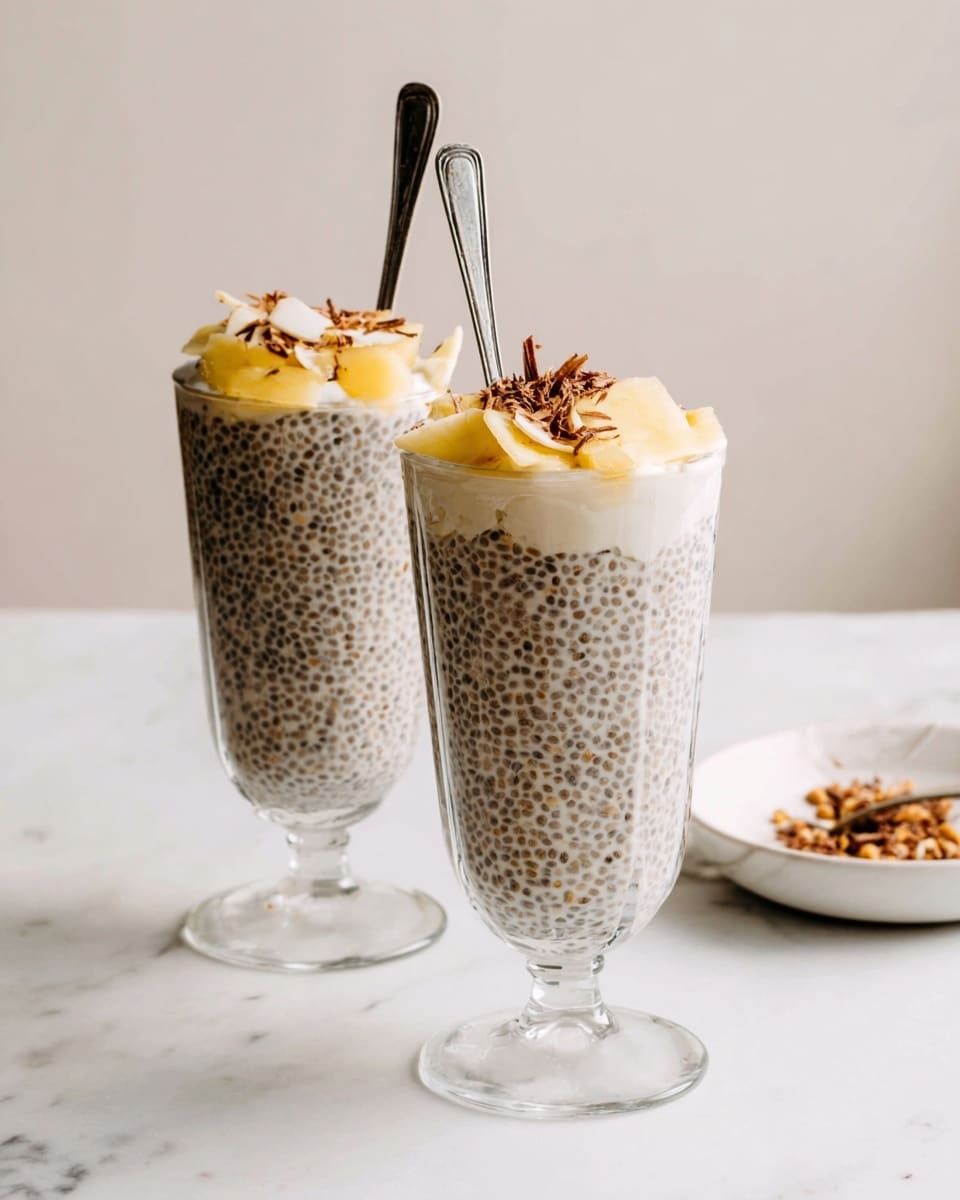
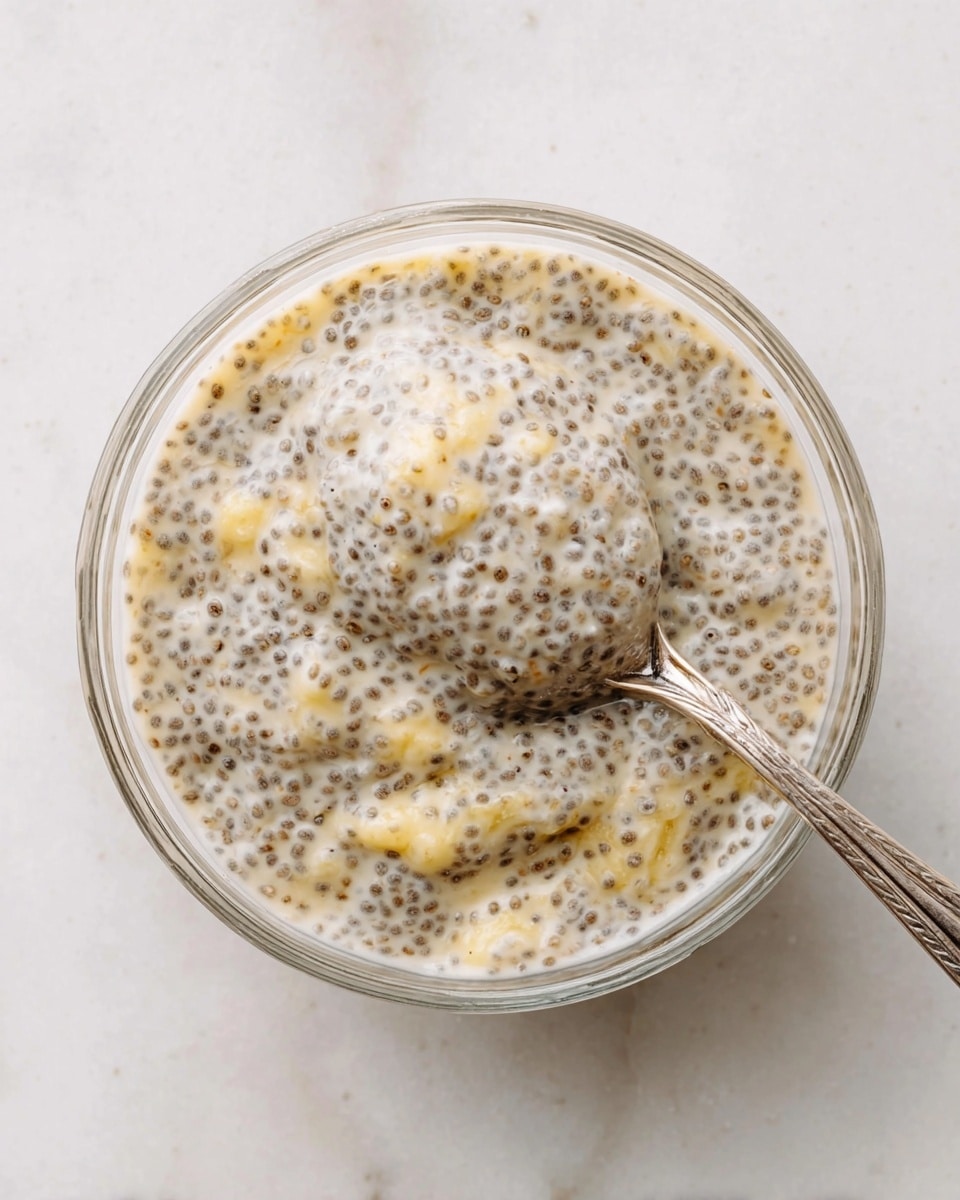
This Banana Chia Pudding is a creamy, naturally sweetened breakfast or snack that’s both nutritious and delicious. Made with ripe bananas, chia seeds, and your choice of plant-based milk, it’s easy to prepare and customizable with your favorite toppings.
Ingredients
- 2 large overripe bananas (about 1 cup, mashed)
- 2 cups unsweetened coconut beverage, almond, or cashew milk
- 6 tablespoons chia seeds
- 2–4 tablespoons pure maple syrup
- 1/2–1 teaspoon vanilla extract
- Toasted coconut flakes (for topping)
- Banana slices (for topping)
- Cacao nibs or shaved dark chocolate (for topping)
Instructions
- Step 1: In a medium bowl, mash the bananas well. Stir in the non-dairy milk, chia seeds, maple syrup, and vanilla extract until fully combined.
- Step 2: Let the mixture sit for about 30 minutes, then stir thoroughly. Repeat this stirring after another 30 minutes to prevent clumping and ensure even gelling.
- Step 3: Cover the bowl and refrigerate for at least 6 hours or overnight to allow the pudding to thicken completely.
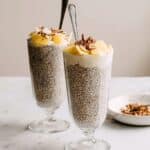
- Step 4: Serve the pudding topped with sliced bananas, toasted coconut flakes, and cacao nibs or shaved dark chocolate. A dollop of coconut whipped cream can be added for extra indulgence.
Tips & Variations
- For a thicker pudding, add an extra tablespoon of chia seeds. You can also swap maple syrup for honey if not vegan.
- Add a pinch of cinnamon or nutmeg for warm spice flavor.
- Use different plant-based milks depending on your preference and what you have on hand.
Storage
Store the chia pudding in an airtight container in the refrigerator for up to 4 days. Stir well before serving if it has thickened too much. It can be enjoyed cold straight from the fridge or allowed to sit at room temperature for a few minutes.
How to Serve
Serve this delicious recipe with your favorite sides.
FAQs
Can I use ripe bananas instead of overripe bananas?
Overripe bananas are ideal because they are sweeter and mash easily, enhancing the pudding’s natural flavor and texture. Ripe bananas will work but may result in a less sweet pudding.
Do I need to stir the pudding multiple times?
Yes, stirring 1–2 times while the chia seeds begin to absorb liquid prevents clumping and ensures a smooth, creamy texture once set.
PrintBanana Chia Pudding Recipe
This Banana Chia Pudding is a creamy, nutritious, and naturally sweetened breakfast or snack option. Made with overripe bananas, chia seeds, and non-dairy milk, it offers a perfect blend of texture and flavor. Topped with toasted coconut flakes, banana slices, and cacao nibs or shaved dark chocolate, it’s vegan, dairy-free, and easy to prepare ahead for a wholesome treat.
- Prep Time: 10 minutes
- Cook Time: 0 minutes
- Total Time: 7 hours 10 minutes
- Yield: 3 cups (about 4 servings) 1x
- Category: Breakfast, Snack
- Method: No-Cook
- Cuisine: Vegan, American
- Diet: Vegan
Ingredients
Main Ingredients
- 2 large overripe bananas (about 1 cup, mashed)
- 2 cups unsweetened coconut beverage, almond or cashew milk
- 6 tablespoons chia seeds
- 2–4 tablespoons pure maple syrup
- 1/2–1 teaspoon vanilla extract
Toppings
- Toasted coconut flakes
- Banana slices
- Cacao nibs or shaved dark chocolate
Instructions
- Prepare the Base: In a medium bowl, mash the overripe bananas thoroughly until smooth. Stir in the non-dairy milk of your choice along with the chia seeds, maple syrup, and vanilla extract. Mix well to combine all ingredients evenly.
- Initial Setting and Stirring: Allow the mixture to sit for about 30 minutes, then give it a good stir to prevent the chia seeds from clumping and to encourage even thickening. Repeat this stirring step one more time after another 30 minutes to ensure the pudding gels properly.
- Refrigerate to Set: Cover the bowl and place it in the refrigerator for at least 6 hours or preferably overnight. This allows the chia seeds to fully absorb the liquid and the pudding to reach a creamy, thick consistency.
- Serve and Garnish: When ready to serve, top the pudding with fresh banana slices, toasted coconut flakes, and cacao nibs or shaved dark chocolate. Optionally, add a dollop of coconut whipped cream for extra richness.
- Yield: This recipe makes about 3 cups of banana chia pudding, suitable for multiple servings.
Notes
- Stirring the chia mixture during the first hour is crucial to avoid a gritty texture and to help the pudding thicken evenly.
- Feel free to adjust the sweetness by adding more or less maple syrup according to taste.
- Overripe bananas provide natural sweetness and creaminess to the pudding.
- This pudding can be stored covered in the refrigerator for up to 3 days.
- For a nut-free version, use coconut milk instead of almond or cashew milk.
Keywords: banana chia pudding, vegan chia pudding, dairy-free pudding, healthy breakfast, make-ahead pudding, plant-based dessert