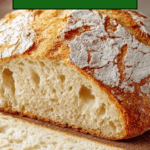
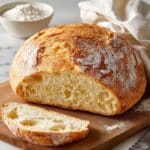
World’s Easiest No-Knead Artisan Bread with Crispy Crust & Chewy Crumb Recipe
Introduction
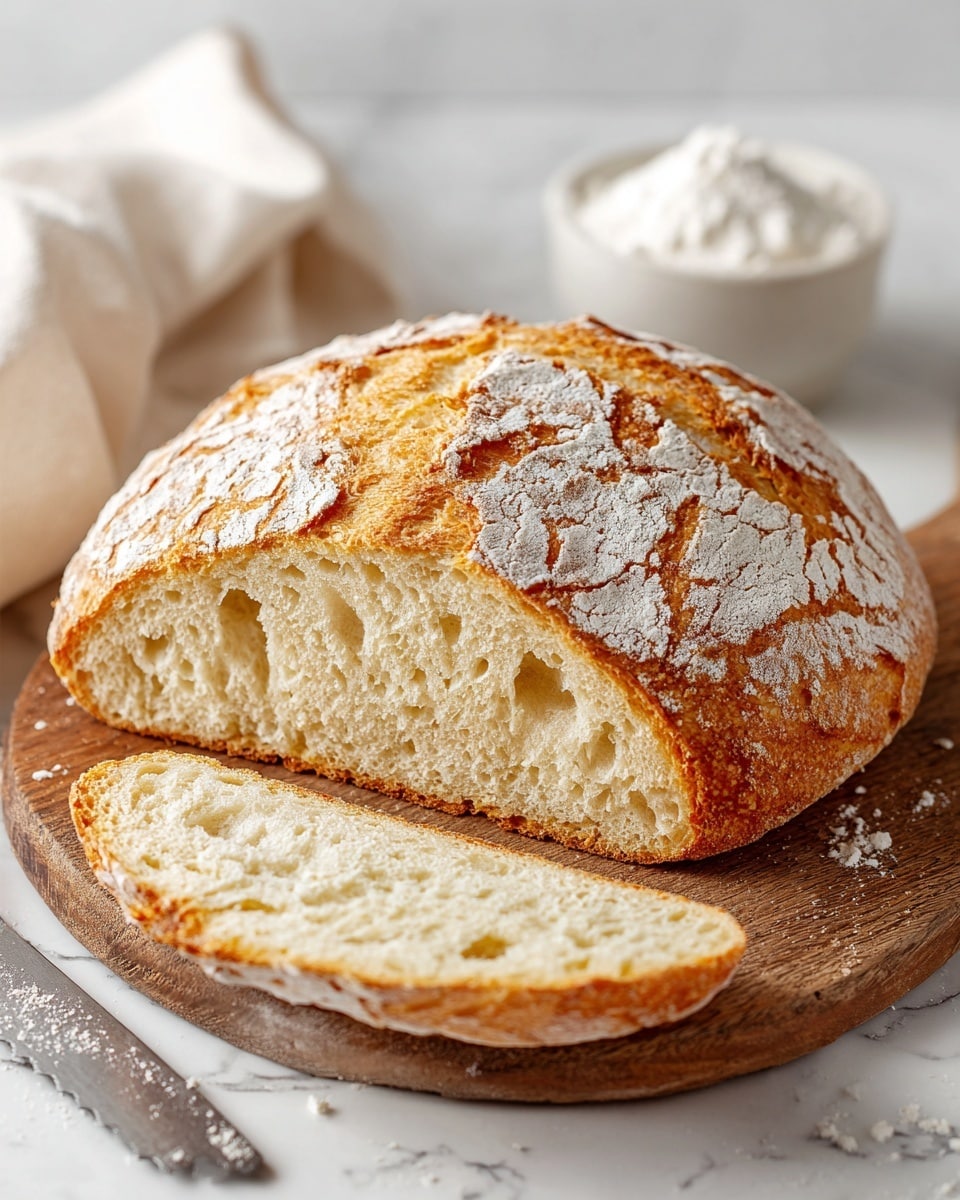
This no-knead artisan bread is perfect for home bakers seeking a crispy crust and chewy crumb without the fuss. With only a handful of ingredients and minimal effort, you can enjoy a bakery-quality loaf right from your kitchen.
Ingredients
- 3 cups All-purpose or Bread flour
- 2 tsp Instant or Rapid Rise yeast
- 2 tsp Kosher salt
- 1 1/2 cups Very warm tap water
- Extra flour for dusting
Instructions
- Step 1: In a large mixing bowl, combine the flour, instant yeast, and kosher salt. Stir briefly to evenly distribute the yeast and salt throughout the flour.
- Step 2: Pour the very warm tap water into the bowl. Using the handle of a wooden spoon or a sturdy spatula, mix until all the flour is fully hydrated and the dough forms a sticky, loose, shaggy mass.
- Step 3: Cover the bowl tightly with plastic wrap and place it in a warm area. Let the dough rise for 2 to 3 hours, until it has doubled in size, looks bubbly, and jiggles when the bowl is gently shaken.
- Step 4 (optional): For deeper flavor, refrigerate the covered dough for 8 hours up to 3 days. The longer it rests, the more complex the taste will become.
- Step 5: About 30 minutes before baking, preheat your oven to 230°C (450°F) and place an empty Dutch oven with its lid inside to heat up.
- Step 6: Lightly flour your work surface and scrape the dough out of the bowl. Sprinkle a little flour on top, then fold the edges inward 5–6 times to create a rough ball shape. Avoid kneading the dough.
- Step 7: Flip the dough seam-side down onto a sheet of parchment paper for easy handling.
- Step 8: Carefully remove the hot Dutch oven from the oven. Lift the dough by the parchment paper and place it directly into the pot. Cover immediately with the lid and bake for 30 minutes.
- Step 9: Remove the lid and continue baking for another 10–12 minutes to develop a deep golden-brown, crispy crust that sounds hollow when tapped.
- Step 10: Transfer the bread to a wire rack and let it cool for at least 10–15 minutes before slicing to allow the crumb to set properly.
Tips & Variations
- Use bread flour instead of all-purpose flour for a chewier crumb and better structure.
- Try adding herbs like rosemary or thyme to the dry ingredients for a flavorful twist.
- For extra steam during baking, place a small pan of water on the oven floor when preheating (if not using a Dutch oven).
- Cold fermenting the dough enhances flavor, so plan ahead for that option if time allows.
Storage
Store the bread at room temperature in a paper bag or bread box for up to 3 days to maintain crustiness. For longer storage, slice and freeze the bread in an airtight bag. Reheat slices in a toaster or oven to restore crispness before eating.
How to Serve
Serve this delicious recipe with your favorite sides.
FAQs
Can I use active dry yeast instead of instant yeast?
Yes, but you will need to activate active dry yeast first by dissolving it in warm water for 5–10 minutes before mixing it with the flour and salt.
Do I need a Dutch oven to bake this bread?
While a Dutch oven helps create the perfect crust by trapping steam, you can bake the dough on a preheated baking stone or sheet and add steam manually with a water pan or by misting the oven.
PrintWorld’s Easiest No-Knead Artisan Bread with Crispy Crust & Chewy Crumb Recipe
This World’s Easiest Yeast Bread is a no-knead artisan loaf featuring a crispy crust and chewy crumb. With minimal ingredients and effort, this bread uses a simple mix of flour, yeast, salt, and warm water, combined with a slow fermentation and baking in a preheated Dutch oven. The method creates beautiful air pockets and a flavorful crust without the need for kneading, making it perfect for beginner bakers or anyone craving homemade bread with rustic charm.
- Prep Time: 10 minutes
- Cook Time: 40-42 minutes
- Total Time: 2 hours 50 minutes to 3 days 10 minutes (depending on fermentation time)
- Yield: 1 loaf (about 10 servings) 1x
- Category: Bread
- Method: Baking
- Cuisine: Artisan
- Diet: Vegetarian
Ingredients
Dry Ingredients
- 3 cups All-purpose or Bread flour
- 2 tsp Instant or Rapid Rise yeast
- 2 tsp Kosher salt
Wet Ingredients
- 1 1/2 cups Very warm tap water
Additional
- Extra flour for dusting
Instructions
- Combine the Dry Ingredients: In a large mixing bowl, add the flour, instant yeast, and kosher salt. Stir briefly to evenly distribute the yeast and salt throughout the flour.
- Add Water and Form the Dough: Pour the very warm tap water into the bowl. Using the handle of a wooden spoon or a sturdy spatula, mix until all the flour is fully hydrated. The dough will be sticky, loose, and shaggy—this wet consistency is essential for creating large air pockets.
- First Rise (Room Temperature Fermentation): Cover the bowl tightly with plastic wrap. Place it in a warm area for 2 to 3 hours, until the dough has doubled in size. The surface should look bubbly and the dough should jiggle when the bowl is gently shaken.
- Optional Cold Fermentation (Flavor Boost): For deeper flavor and a more complex, sourdough-style taste, transfer the covered bowl to the refrigerator for anywhere from 8 hours up to 3 days. The longer it rests, the more developed the flavor will be.
- Preheat the Dutch Oven: Thirty minutes before baking, place the empty Dutch oven with its lid into the oven. Preheat the oven to 230°C / 450°F. This step is crucial to create intense heat and steam for proper oven spring.
- Shape the Dough (Minimal Handling): Lightly flour your work surface. Scrape the dough out of the bowl using a dough scraper. Sprinkle the top with a little flour, then fold the edges inward about 5–6 times to form a rough ball. Do not knead.
- Transfer to Parchment Paper: Flip the dough seam-side down onto a sheet of parchment paper. This makes transferring the dough into the hot pot safe and easy.
- Bake Covered (Steam Phase): Carefully remove the hot Dutch oven from the oven. Lift the dough using the parchment paper and place it directly into the pot. Cover immediately with the lid and bake for 30 minutes.
- Uncover and Crisp the Crust: Remove the lid and continue baking for an additional 10–12 minutes, until the crust turns deep golden brown and sounds hollow when tapped.
- Cool Before Slicing: Transfer the bread to a wire rack and allow it to cool for at least 10–15 minutes. This resting time allows the interior crumb to finish setting and prevents a gummy texture.
Notes
- Use very warm water to activate the yeast quickly but avoid boiling water to prevent killing the yeast.
- Do not knead the dough; the wet, sticky texture is essential for a light, airy crumb.
- Cold fermentation in the fridge is optional but recommended for deeper flavor.
- Preheating the Dutch oven is essential to create steam and the perfect crust.
- Allow the bread to cool thoroughly before slicing to avoid gummy texture.
Keywords: no-knead bread, artisan bread, easy yeast bread, Dutch oven bread, crispy crust bread, homemade bread, no-knead artisan bread