Indulgent Biscoff Cookie Butter Cheesecake Recipe
Introduction
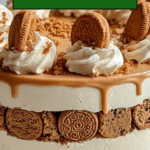
This indulgent Biscoff Cookie Butter Cheesecake is a dreamy dessert perfect for any occasion. Creamy, rich, and bursting with the unique caramelized flavor of Biscoff cookies, it’s sure to impress family and friends.
Ingredients
- 2 cups Biscoff Cookie Crumbs (or graham crackers/digestive biscuits)
- 1/2 cup Biscoff Cookie Butter (or other cookie butters/nut butters)
- 1/2 cup Unsalted Butter (or coconut oil for dairy-free)
- 1/4 cup Brown Sugar (or granulated sugar)
- 16 oz Cream Cheese (Neufchâtel for lower fat)
- 3/4 cup Granulated Sugar (or coconut sugar)
- 3 large Eggs (aquafaba for vegan option)
- 1 cup Sour Cream (or Greek yogurt)
- 1 cup Heavy Cream (or full-fat coconut milk for dairy-free)
- 1 cup Powdered Sugar (no substitute recommended)
- 6 Whole Biscoff Cookies (for garnish)
Instructions
- Step 1: Preheat the oven to 350°F (175°C). In a mixing bowl, combine Biscoff cookie crumbs, melted butter, Biscoff cookie butter, brown sugar, and a pinch of salt. Use a fork to blend until the mixture is moistened and crumbly. Press firmly into the bottom of a greased 9-inch springform pan. Bake for 10 minutes, then remove and cool completely.
- Step 2: In a large bowl, beat room temperature cream cheese on medium speed until creamy and smooth, about 2-3 minutes. Gradually add granulated sugar and Biscoff cookie butter, mixing until combined. Add eggs one at a time, mixing on low speed to maintain smoothness. Gently fold in sour cream, heavy cream, and vanilla extract for a velvety batter.
- Step 3: Wrap the bottom of the springform pan tightly with aluminum foil to prevent water leaks. Place the pan in a larger baking dish and fill the dish with hot water halfway up the springform pan sides. Pour cheesecake filling over the cooled crust.
- Step 4: Bake at 325°F (160°C) for 60–70 minutes, until the edges are set but the center jiggles slightly. Turn off the oven and leave the cheesecake inside with the door slightly open for 1 hour to cool gradually and prevent cracks.
- Step 5: Remove the cheesecake and let it cool at room temperature for 30 minutes, then refrigerate for at least 8 hours or overnight for best texture.
- Step 6: When ready to serve, whip the chilled heavy cream with powdered sugar until stiff peaks form. Decorate the cheesecake with the whipped cream, then sprinkle with extra Biscoff cookie crumbs and whole cookies for a beautiful finish.
Tips & Variations
- For a dairy-free version, substitute coconut oil for butter, full-fat coconut milk for heavy cream, and plant-based cream cheese alternatives.
- Try using different cookie butters like peanut or almond butter for a unique twist.
- Chilling the cheesecake overnight improves the flavor and texture dramatically.
- To prevent cracks further, avoid overmixing the batter and use a gentle folding technique when adding wet ingredients.
Storage
Store cheesecake covered in the refrigerator for up to 5 days. To reheat, bring slices to room temperature or enjoy chilled. Avoid freezing whipped cream topping, but the cheesecake itself freezes well for up to 2 months; thaw overnight in the fridge.
How to Serve
Serve this delicious recipe with your favorite sides.
FAQs
Can I make this cheesecake vegan?
Yes, substitute aquafaba for eggs, use plant-based cream cheese and heavy cream alternatives, and choose dairy-free cookie butters. Be sure all ingredients align with your preferred vegan brand choices.
Why should I use a water bath for baking?
The water bath provides gentle, even heat that helps prevent cracking and ensures the cheesecake bakes uniformly, resulting in a silky and smooth texture.
PrintIndulgent Biscoff Cookie Butter Cheesecake Recipe

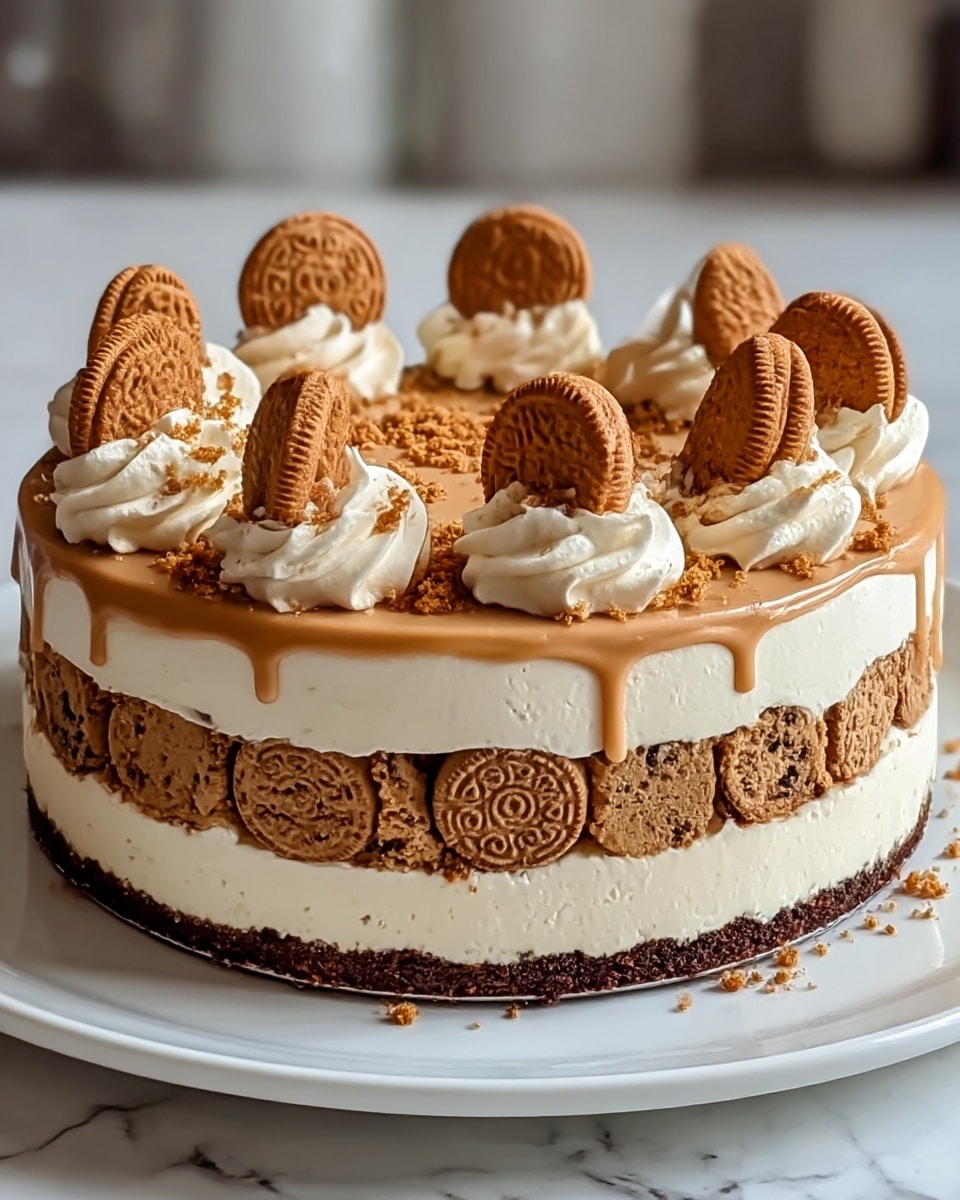
This Indulgent Biscoff Cookie Butter Cheesecake is a luscious and creamy dessert that perfectly combines the warm, caramelized flavors of Biscoff cookie butter with a smooth, velvety cheesecake. Featuring a crunchy Biscoff cookie crumb crust and topped with whipped cream and cookie garnishes, this decadent cheesecake is sure to become a favorite treat for any special occasion or sweet craving.
- Prep Time: 20 minutes
- Cook Time: 1 hour 20 minutes
- Total Time: 10 hours 40 minutes
- Yield: 12 servings 1x
- Category: Dessert
- Method: Baking
- Cuisine: American
Ingredients
Crust
- 2 cups Biscoff Cookie Crumbs (substitute with graham crackers or digestive biscuits if desired)
- 1/2 cups Biscoff Cookie Butter
- 1/2 cups Unsalted Butter, melted (coconut oil for dairy-free option)
- 1/4 cups Brown Sugar (granulated sugar as substitute)
- Pinch of salt
Cheesecake Filling
- 16 oz Cream Cheese, room temperature (Neufchâtel cream for lower-fat)
- 3/4 cups Granulated Sugar (coconut sugar as substitute)
- 1/2 cups Biscoff Cookie Butter
- 3 large Eggs (aquafaba for vegan alternative)
- 1 cups Sour Cream (Greek yogurt substitute)
- 1 cups Heavy Cream (full-fat coconut milk for dairy-free)
- 1 tsp Vanilla Extract
Whipped Cream Topping
- 1 cups Heavy Cream, chilled
- 1 cups Powdered Sugar (no substitute recommended)
- 6 whole Biscoff Cookies for garnish
- Additional Biscoff Cookie Crumbs for dusting
Instructions
- Prepare the crust: Preheat the oven to 350°F (175°C). In a mixing bowl, combine Biscoff cookie crumbs, melted butter, Biscoff cookie butter, brown sugar, and a pinch of salt. Mix with a fork until the mixture is moistened and crumbly. Press this mixture firmly into the bottom of a greased 9-inch springform pan. Bake for 10 minutes, then remove from the oven and let cool completely.
- Make the cheesecake filling: In a large bowl, beat room temperature cream cheese on medium speed for 2-3 minutes until creamy and smooth. Gradually add granulated sugar and Biscoff cookie butter, mixing until fully combined. Add eggs one at a time, mixing on low speed to avoid overmixing, until the batter is smooth. Gently fold in sour cream, heavy cream, and vanilla extract until you achieve a velvety consistency.
- Prepare for a water bath: Wrap the bottom of the springform pan tightly with aluminum foil to prevent leaks. Place the pan inside a larger baking dish and pour hot water into the larger dish until it reaches halfway up the sides of the springform pan. Carefully pour the cheesecake filling over the cooled crust.
- Bake the cheesecake: Bake at 325°F (160°C) for 60 to 70 minutes, until the edges are set but the center is still slightly jiggly. This ensures the cheesecake remains creamy inside.
- Cool gradually: Turn off the oven, leaving the cheesecake inside with the door slightly ajar for 1 hour to cool slowly and prevent cracking. Remove from oven and let it cool at room temperature for 30 minutes, then refrigerate for at least 8 hours or overnight for best texture.
- Prepare whipped cream topping: When ready to serve, whip the chilled heavy cream in a bowl, gradually adding powdered sugar, until stiff peaks form.
- Assemble and garnish: Spread or pipe the whipped cream over the chilled cheesecake. Sprinkle additional Biscoff cookie crumbs on top and decorate with whole Biscoff cookies for an elegant finish. Serve chilled.
Notes
- For a dairy-free option, substitute unsalted butter with coconut oil and heavy cream with full-fat coconut milk.
- Neufchâtel cream cheese can be used as a lower-fat substitute for cream cheese.
- For vegan adaptation, replace eggs with aquafaba and use vegan cookie butters and cream substitutes.
- Be sure to wrap the springform pan well during the water bath to avoid water leaking into the cheesecake.
- Gradual cooling inside the oven helps prevent cracks on the cheesecake surface.
- Chilling overnight improves texture and flavor absorption.
- Use powdered sugar in whipped cream as it stabilizes the peaks better than granulated sugar.
Keywords: Biscoff cheesecake, cookie butter cheesecake, creamy cheesecake, baked cheesecake, Biscoff dessert, indulgent cheesecake, holiday dessert