Halloween No-Bake Cherry Cheesecake Recipe
Introduction
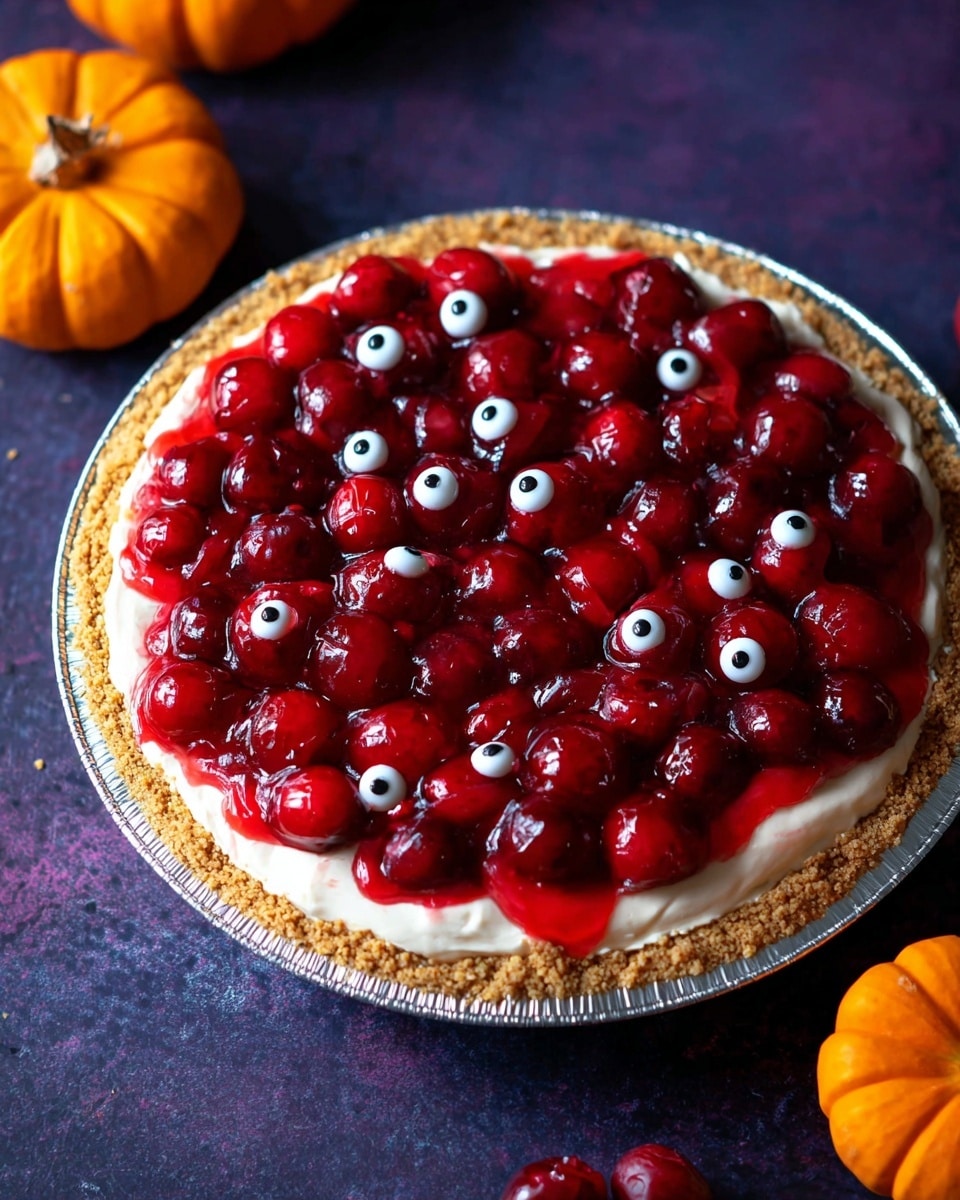
This Halloween No-Bake Cherry Cheesecake is a spooky yet simple dessert perfect for festive gatherings. Its creamy texture combined with a sweet cherry topping and fun candy eyes will delight both kids and adults alike.
Ingredients
- 1 store-bought 9” or 10” graham cracker crust OR
- 1 1/2 cups graham cracker crumbs (finely crushed; about 12 full graham cracker sheets)
- 1/2 cup butter (melted)
- 1/4 cup brown sugar or granulated sugar
- 1 cup heavy whipping cream
- 24 oz cream cheese (softened to room temperature)
- 1 1/2 cups powdered sugar
- 1 tsp vanilla extract
- 1/4 cup sour cream
- 20 oz can cherry pie filling
- Candy eyes for decoration
Instructions
- Step 1: If using a store-bought crust, set it aside and skip to Step 7. To make your own crust, combine graham cracker crumbs and sugar in a bowl, then add melted butter and mix thoroughly.
- Step 2: Press the crust mixture tightly into the bottom and up the sides of a 9” or 10” pie dish. Use the back of a spoon or a measuring cup to firmly pack it down.
- Step 3: Chill the crust in the refrigerator for one hour.
- Step 4: Add the heavy whipping cream to a mixing bowl and whip on high speed until stiff peaks form, about 2–4 minutes. Place whipped cream in the refrigerator immediately.
- Step 5: In a separate bowl, beat cream cheese and powdered sugar on medium speed until smooth, scraping down the sides as needed.
- Step 6: Add vanilla extract and sour cream to the cream cheese mixture and mix again until smooth.
- Step 7: Gently fold the whipped cream into the cream cheese mixture using a spatula. Be careful not to overmix to keep it light and airy.
- Step 8: Pour the filling onto the prepared crust and spread evenly with a spatula.
- Step 9: Cover and refrigerate the cheesecake for at least 8–12 hours, preferably around 14 hours for best results.
- Step 10: About two hours before serving, remove the cheesecake from the refrigerator and spread the cherry pie filling evenly over the top. Return to the refrigerator for the final two hours.
- Step 11: Just before serving, press candy eyes into the cherry topping for a festive Halloween look.
- Step 12: For cleaner slices, dip a knife in hot water, wipe it dry, and slice the cheesecake. Repeat warming the knife between cuts.
Tips & Variations
- Use an offset spatula for spreading the filling more easily and evenly.
- For a different flavor, substitute cherry pie filling with blueberry or raspberry pie filling.
- If you want a crunchier crust, bake the homemade crust at 350°F (175°C) for 8–10 minutes before chilling.
Storage
Keep the cheesecake covered in the refrigerator for up to five days. To reheat slices slightly, let them sit at room temperature for 10–15 minutes but avoid microwaving as it may affect texture.
How to Serve
Serve this delicious recipe with your favorite sides.
FAQs
Can I make this cheesecake ahead of time?
Yes, this no-bake cheesecake actually benefits from resting in the fridge overnight. It helps the flavors meld and the filling to set properly.
What can I use if I don’t have sour cream?
You can substitute sour cream with an equal amount of Greek yogurt for a similar texture and tangy flavor.
PrintHalloween No-Bake Cherry Cheesecake Recipe

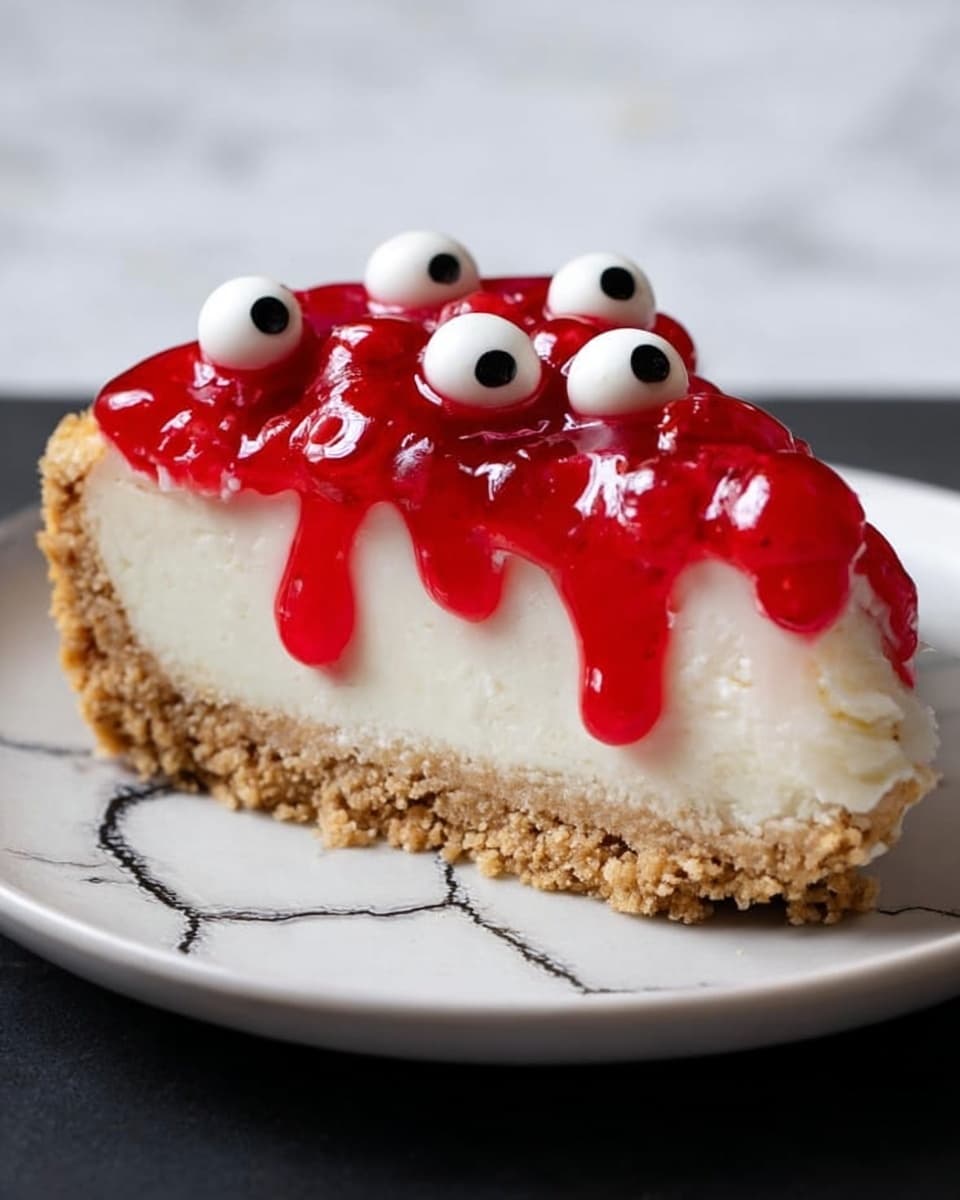
This festive Halloween No-Bake Cherry Cheesecake is a delightful and easy-to-make dessert perfect for the spooky season. Featuring a creamy, smooth cream cheese filling blended with whipped cream on a graham cracker crust, topped with a vibrant cherry pie filling and fun candy eyes for a playful touch. No baking required, making it an accessible treat for all skill levels.
- Prep Time: 20 minutes
- Cook Time: 0 minutes
- Total Time: 14 hours 20 minutes (including chilling time)
- Yield: 8 to 10 servings 1x
- Category: Dessert
- Method: No-Cook
- Cuisine: American
Ingredients
Crust
- 1 store-bought 9” or 10” graham cracker crust OR
- 1 1/2 cups graham cracker crumbs (finely crushed; about 12 full graham cracker sheets)
- 1/2 cup butter (melted)
- 1/4 cup brown sugar or granulated sugar
Filling
- 1 cup heavy whipping cream
- 24 oz cream cheese (softened to room temperature)
- 1 1/2 cups powdered sugar
- 1 tsp vanilla extract
- 1/4 cup sour cream
Topping
- 20 oz can cherry pie filling
- Candy eyes (for decoration)
Instructions
- Prepare the Crust: If using a store-bought crust, no preparation is needed. To make your own crust, combine graham cracker crumbs and sugar in a bowl, then add melted butter and mix until well combined. Press the mixture firmly into the bottom and up the sides of a 9” or 10” pie dish. Use the back of a spoon or a measuring cup to pack it tightly. Chill in the refrigerator for one hour to set.
- Whip the Cream: Add heavy whipping cream to a mixing bowl and whip on high speed using an electric mixer until stiff peaks form, about 2-4 minutes. Scrape down the bowl as needed during whipping. Immediately refrigerate until ready to use.
- Make the Cream Cheese Filling: In a separate bowl, beat softened cream cheese and powdered sugar on medium speed until smooth. Add vanilla extract and sour cream, then continue mixing until fully combined and smooth, scraping down the bowl as necessary.
- Fold in Whipped Cream: Gently fold the whipped cream into the cream cheese mixture using a silicone spatula. Be careful not to overmix to retain the light texture of the whipped cream.
- Assemble the Cheesecake: Remove the crust from the refrigerator and spread the cream cheese filling evenly over the crust with a spatula or offset spatula for easier spreading. Cover and refrigerate for at least 8 to 12 hours, preferably 14 hours, to allow the cheesecake to set.
- Add Topping and Chill: Approximately two hours before serving, remove the cheesecake from the refrigerator, spread cherry pie filling evenly on top, then return to the refrigerator for the remaining two hours.
- Decorate and Serve: Before serving, decorate the cherry topping with candy eyes by lightly pressing or placing them into individual cherries for a spooky eyeball effect. For cleaner slices, warm a knife by dipping it briefly in hot water and drying it before each cut. Serve chilled.
- Storage: Store leftover cheesecake covered in the refrigerator for up to five days to maintain freshness and texture.
Notes
- You can use either a store-bought graham cracker crust or make your own crust from scratch.
- Do not overmix the whipped cream into the cream cheese filling to keep the texture light and airy.
- Chilling the cheesecake for at least 8 hours is critical for proper setting and excellent flavor.
- Warming your knife before slicing helps create cleaner cheesecake pieces.
- Leftover cheesecake keeps well refrigerated for up to five days.
- Adding candy eyes creates a fun Halloween-themed presentation, but you can skip or substitute these with any other seasonal decorations.
Keywords: Halloween dessert, no bake cheesecake, cherry cheesecake, easy cheesecake, graham cracker crust, holiday dessert