Protein Rice Krispies Treats Recipe
Introduction
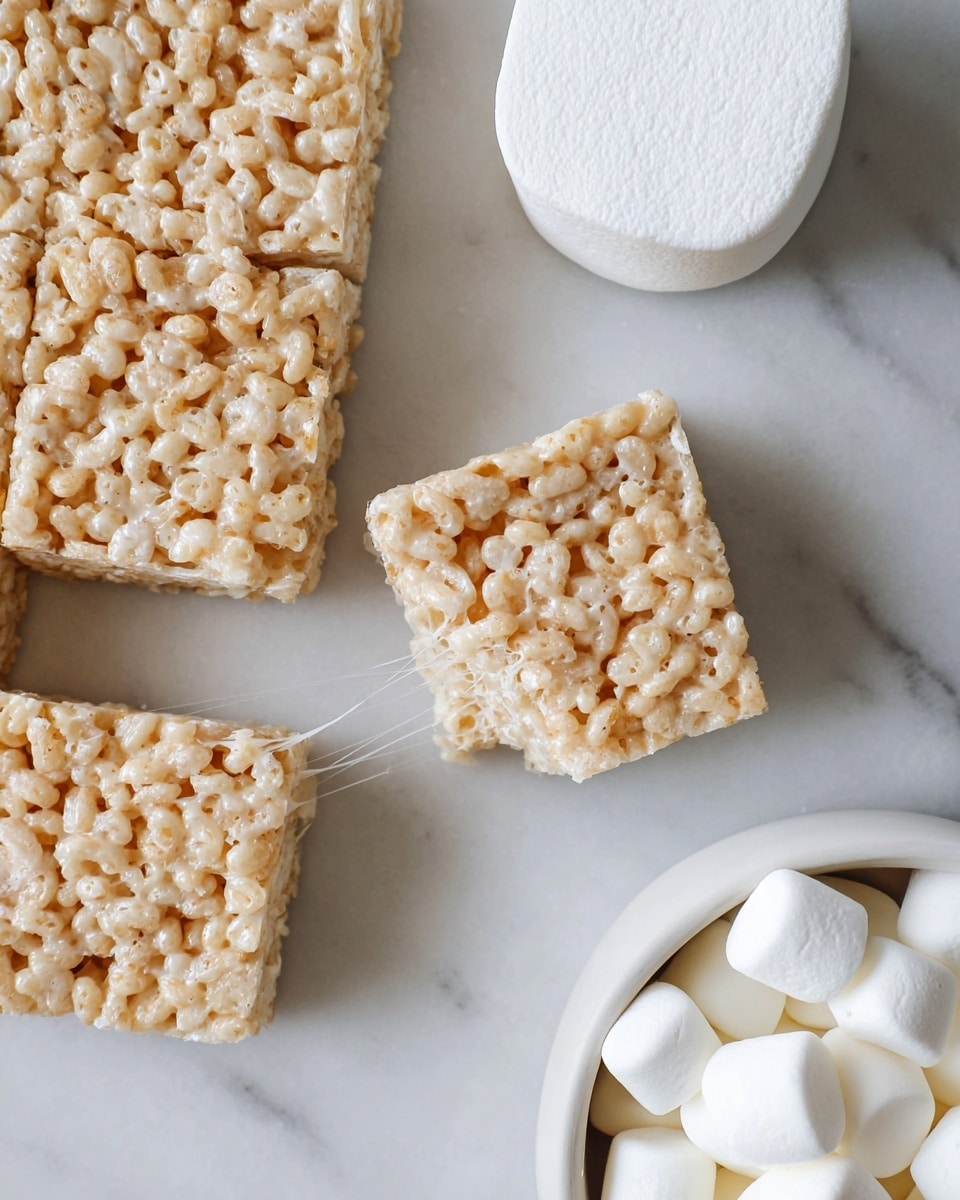
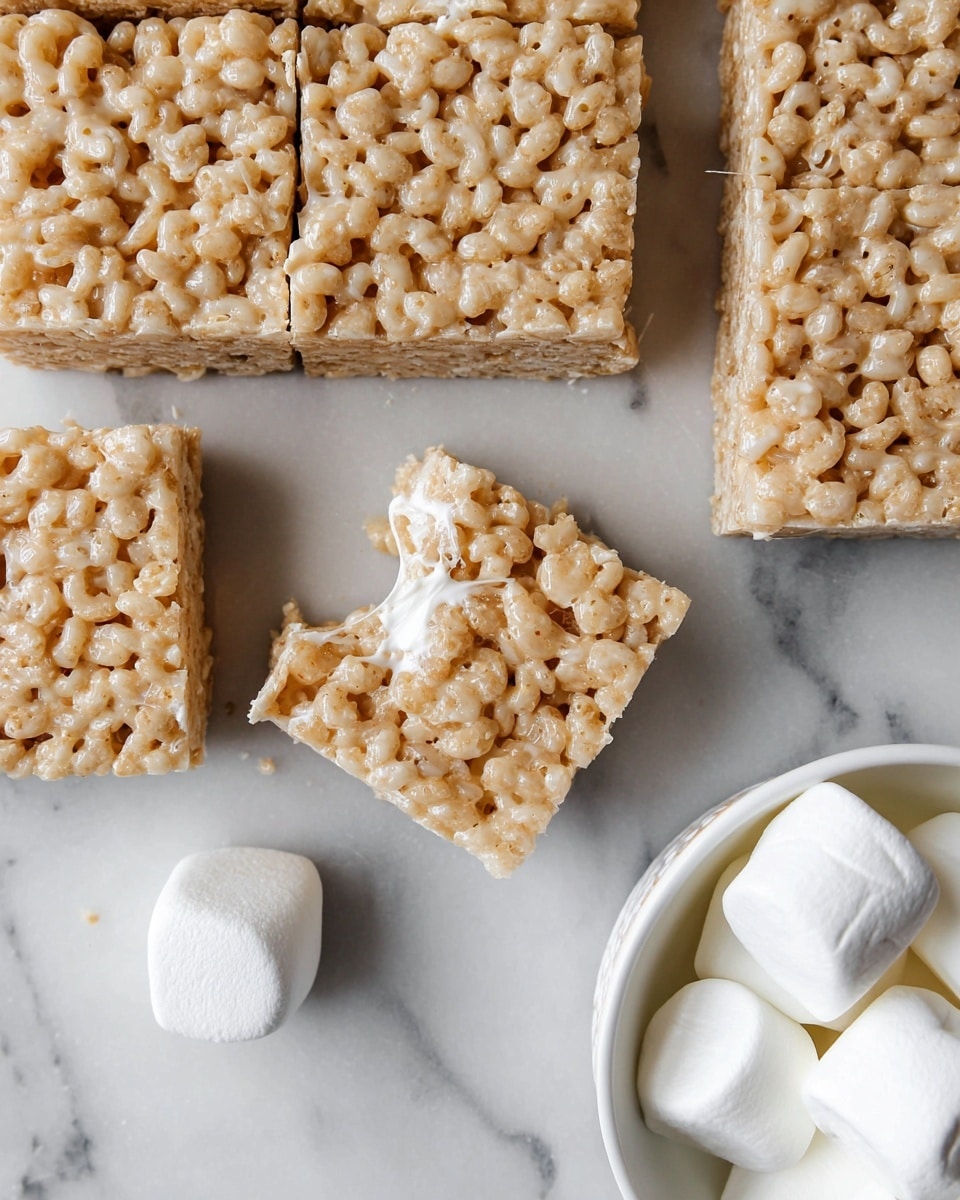
Protein Rice Krispies are a delicious twist on the classic treat, packed with vanilla-flavored protein powder for an extra boost. They are easy to make and perfect for a quick snack or post-workout bite.
Ingredients
- 5 cups Rice Krispies or crispy rice cereal
- 2 tablespoons milk (regular or almond milk)
- 1/2 cup vanilla flavored protein powder
- 4 tablespoons salted butter
- 10.5 ounce bag mini marshmallows
- 1 teaspoon vanilla extract
- Sprinkles (optional)
Instructions
- Step 1: Line a 9×9 inch pan with foil or parchment paper and grease with butter or nonstick cooking spray.
- Step 2: In a small bowl, whisk together the milk and protein powder until combined and smooth. Set aside.
- Step 3: Bring a large pot or stock pot to medium heat and add the butter. Melt completely.
- Step 4: Reduce the heat to low and add the mini marshmallows. Stir continuously until melted, then stir in the vanilla extract and the milk-protein mixture.
- Step 5: Remove the pot from heat and stir in the Rice Krispies cereal until the marshmallow mixture fully coats the cereal.
- Step 6: Transfer the mixture to the prepared pan and gently press it down. If desired, sprinkle with sprinkles. Avoid pressing too hard to keep the treats light and chewy.
- Step 7: Let the mixture rest for 30 to 60 minutes until set. Slice into squares and enjoy.
Tips & Variations
- For a chocolate twist, add a tablespoon of cocoa powder to the protein mixture before combining.
- Use almond or oat milk for a dairy-free option.
- Add chopped nuts or dried fruit for extra texture and flavor.
- Store the treats in an airtight container to keep them fresh and chewy longer.
Storage
Store Protein Rice Krispies in an airtight container at room temperature for up to 3 days. For longer storage, keep them in the refrigerator for up to a week. If chilled, let them come to room temperature briefly before serving to soften the texture.
How to Serve
Serve this delicious recipe with your favorite sides.
FAQs
Can I use a different type of protein powder?
Yes, you can use any vanilla-flavored protein powder you prefer. Adjust the quantity slightly if your powder has a different texture or sweetness.
Are these treats suitable for kids?
Yes, they make a tasty and fun snack for kids, especially with the added sprinkles. Just be mindful of any allergies related to the protein powder or milk used.
PrintProtein Rice Krispies Treats Recipe

Delicious and protein-packed Rice Krispies treats made with vanilla flavored protein powder, providing a tasty twist on the classic marshmallow treat. Perfect for a quick snack or post-workout boost.
- Prep Time: 10 minutes
- Cook Time: 10 minutes
- Total Time: 40-70 minutes
- Yield: 16 squares 1x
- Category: Snack
- Method: Stovetop
- Cuisine: American
Ingredients
Main Ingredients
- 5 cups Rice Krispies or crispy rice cereal
- 2 tablespoons milk (regular or almond milk)
- 1/2 cup vanilla flavored protein powder
- 4 tablespoons salted butter
- 10.5 ounce bag mini marshmallows
- 1 teaspoon vanilla extract
- Sprinkles (optional)
Instructions
- Prepare the Pan: Line a 9×9 inch pan with foil or parchment paper and grease it with butter or nonstick cooking spray to prevent sticking.
- Mix Protein and Milk: In a small bowl, whisk together the milk and vanilla flavored protein powder until combined and smooth. Set aside this mixture.
- Melt Butter: Place a large pot or stock pot on medium heat and add butter, allowing it to melt completely.
- Add Marshmallows and Mix: Reduce the heat to low and add the mini marshmallows to the melted butter. Stir continuously until the marshmallows are thoroughly melted, then add the vanilla extract and the protein milk mixture. Stir well to combine.
- Combine with Cereal: Remove the pot from heat and quickly stir in the Rice Krispies cereal until it is completely coated with the marshmallow mixture.
- Shape the Treats: Transfer the mixture to the prepared pan and gently press it down evenly. Be careful not to press too hard to keep the treats light and chewy. Optionally sprinkle with colorful sprinkles on top.
- Let Set and Serve: Allow the treats to rest for 30 to 60 minutes until firm. Then slice into squares and enjoy your protein-packed Rice Krispies treats.
Notes
- For a dairy-free version, use almond milk and dairy-free butter alternatives.
- Do not over-press the mixture in the pan to avoid dense, hard treats.
- Sprinkles are optional and add a fun visual touch, but can be omitted if preferred.
- Store leftovers in an airtight container to maintain freshness.
Keywords: Protein Rice Krispies, Protein treats, Marshmallow snacks, Quick snacks, Protein powder recipes