No-Oven Stovetop Bread Recipe
Discover the magic of homemade bread without ever turning on your oven with this delightful No-Oven Stovetop Bread recipe. Perfectly crusty on the outside and soft on the inside, this bread is a testament to how simple ingredients and a stovetop can come together to create bakery-quality bread right in your kitchen. Whether you’re short on oven space or just craving freshly baked loaf, this method brings a wholesome and comforting bread experience to your table without the fuss.
Ingredients You’ll Need
These ingredients are straightforward but each one plays a crucial role in bringing your No-Oven Stovetop Bread to life. From the flour that forms the base to the yeast that gives it a wonderful rise, every component is essential for that perfect taste and texture.
- All-purpose flour (2 1/2 cups): The foundation of your bread, providing structure and bite.
- Salt (1 tsp): Enhances flavor and controls yeast activity for balanced fermentation.
- Sugar (2 tsp): Feeds the yeast and adds a subtle sweetness that supports crust color.
- Instant yeast (2 tsp) or active dry yeast: The key to that light, airy texture that makes homemade bread irresistible.
- Warm water (3/4 cup, about 110°F/45°C): Activates the yeast and hydrates the flour for perfect dough consistency.
- Vegetable oil or melted butter (2 tbsp): Adds tenderness and a slight richness to the bread crumb.
How to Make No-Oven Stovetop Bread
Step 1: Activate the Yeast
If you’re using active dry yeast, mix it with warm water and sugar to create a bubbly, foamy mixture after 5-10 minutes. This activation step tells you the yeast is alive and ready to work its magic, guaranteeing your bread will rise just right.
Step 2: Make the Dough
Combine the flour and salt in a large bowl to evenly distribute the salt’s flavor impact. Add your activated yeast mixture or instant yeast, along with oil and the remaining warm water. Mix just until everything comes together — resist the urge to overwork the dough here.
Step 3: Knead for Elasticity
Turn your dough onto a lightly floured surface, and knead it thoroughly for 8-10 minutes. This long kneading builds gluten, essential for that beautiful chewy texture, so keep at it until smooth and elastic.
Step 4: Let the Dough Rise
Place your dough in a lightly oiled bowl, covering it with a damp cloth to keep it cozy. Let it rest in a warm spot for about an hour until it doubles in size — a sure sign the yeast has been hard at work.
Step 5: Shape the Dough
Gently punch down your risen dough to release excess gas, then mold it into a round or oval shape. The goal is to fit it comfortably in your skillet or pot, so sizing matters to ensure even cooking.
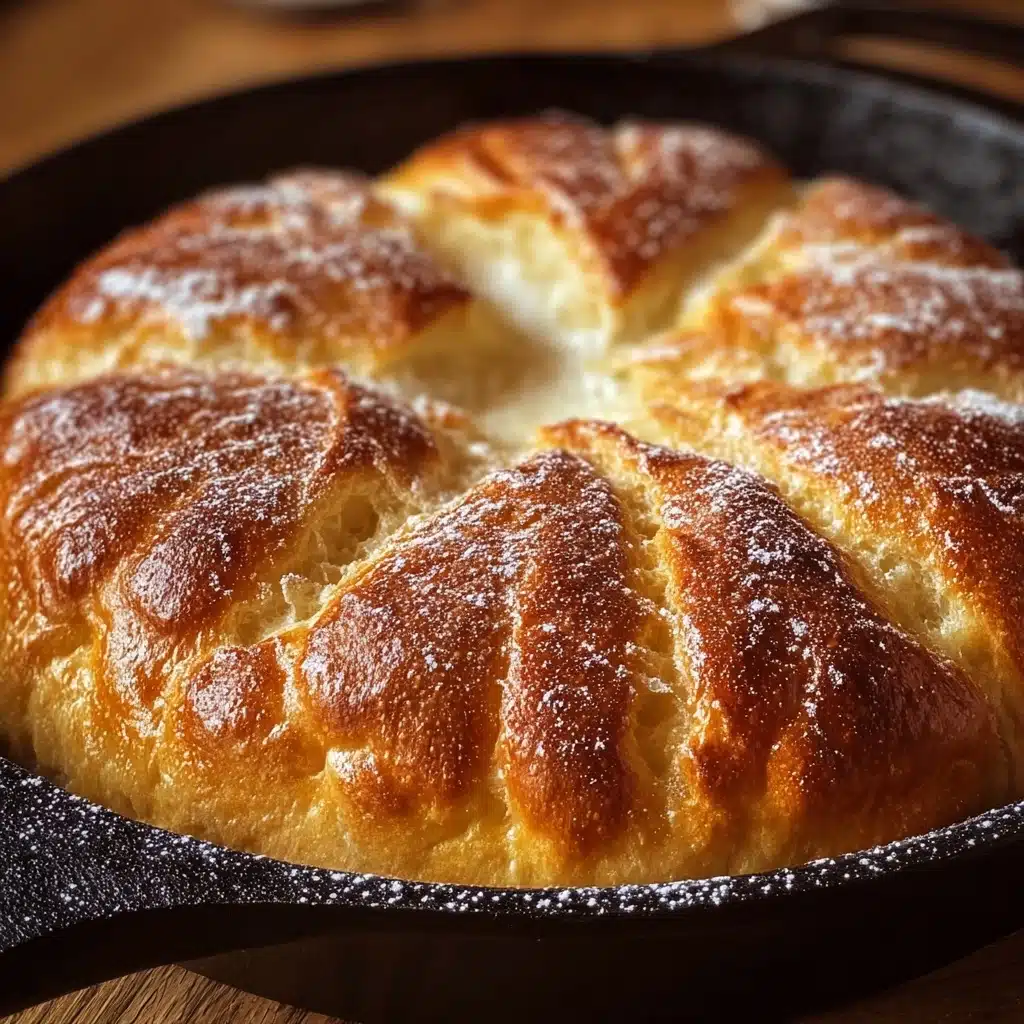
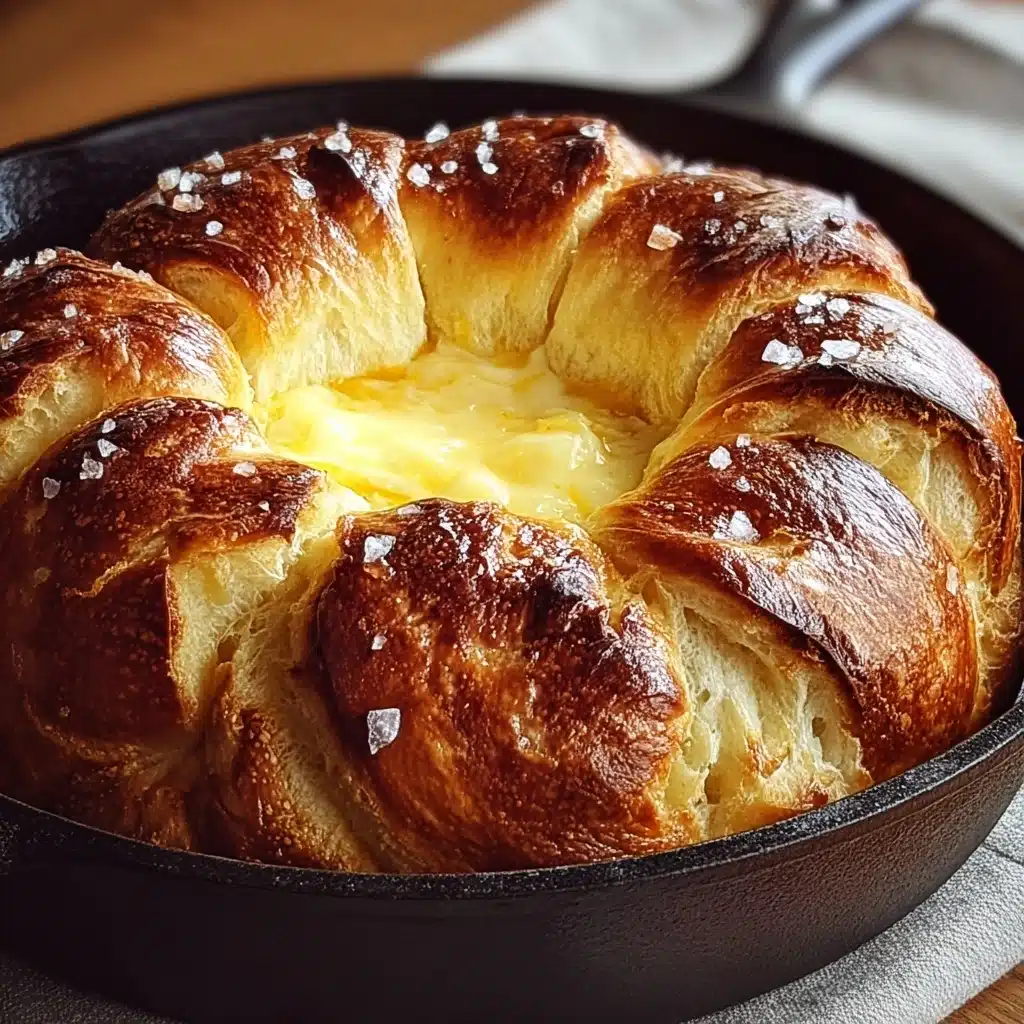
Step 6: Cook the Bread on the Stovetop
Heat a nonstick skillet or a heavy-bottomed pot over very low heat, lightly greasing its surface to prevent sticking. Place your shaped dough in, cover it with a lid, and let it cook undisturbed for 12-15 minutes. This slow, gentle heat develops a golden crust without burning.
Step 7: Flip and Finish Cooking
Carefully flip your bread to brown the other side, cooking for an additional 10-12 minutes. The result is a loaf that is golden-brown all over and cooked through, delivering that beloved contrast between a crusty exterior and tender interior.
Step 8: Cool and Slice
Once cooked, transfer the bread to a wire rack to cool slightly before slicing. Patience here lets the crumb set perfectly, ensuring every bite is as satisfying as possible.
How to Serve No-Oven Stovetop Bread
Garnishes
This No-Oven Stovetop Bread is a fantastic blank canvas for toppings. Try slathering it with herb-infused butter, garlic olive oil, or a sprinkle of flaky sea salt for immediate flavor elevation. Fresh herbs like rosemary or thyme add visual appeal and aromatic bursts with each bite.
Side Dishes
The versatility of this stovetop bread means it pairs beautifully with a wide range of dishes. Serve it alongside rich stews, vibrant salads, or creamy dips like hummus or baba ganoush. The bread’s hearty texture holds up perfectly to soaking up gravies and sauces.
Creative Ways to Present
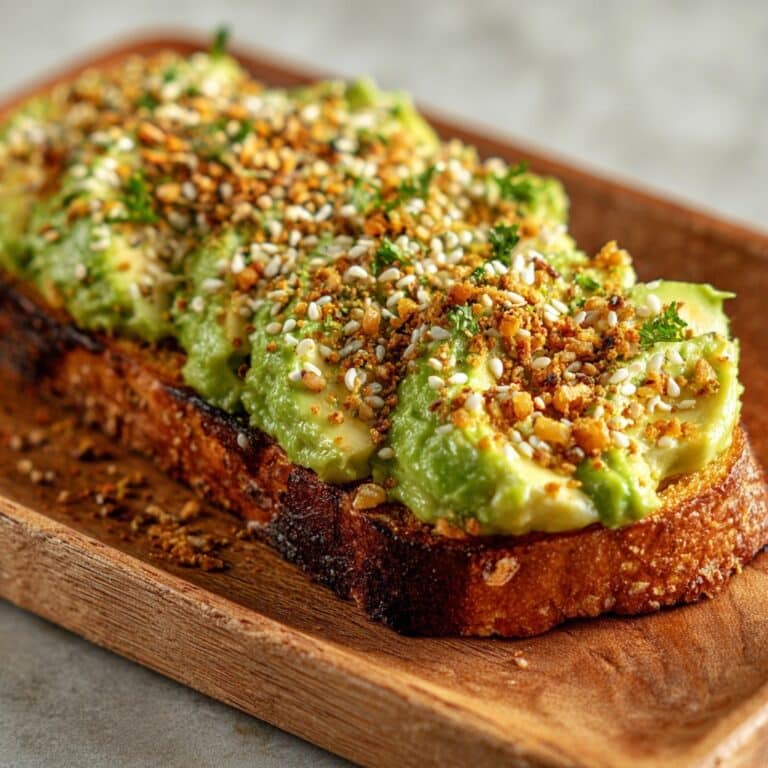
Transform this loaf into mini handheld sandwiches by slicing it thin and layering with your favorite deli meats, cheeses, and fresh veggies. Or toast slices lightly on your pan, then top with avocado and chili flakes for a quick, trendy snack that feels indulgent.
Make Ahead and Storage
Storing Leftovers
Wrap any leftover bread tightly in plastic wrap or place it in an airtight container at room temperature for up to 2 days. This helps preserve freshness and prevents the crust from becoming tough or stale.
Freezing
For longer storage, slice the bread and freeze in a resealable bag. This method allows you to pull out just what you need, reducing waste and keeping the loaf fresh for up to 3 months.
Reheating
Reheat slices gently in a dry skillet over low heat or wrapped in foil in a warm oven (if available) to revive that freshly baked warmth and aroma. Avoid microwaving as it often leads to a rubbery texture.
FAQs
Can I use whole wheat flour for this No-Oven Stovetop Bread?
Absolutely! You can substitute whole wheat flour for part or all of the all-purpose flour. Just note that whole wheat breads tend to be denser and may require a bit more water for hydration.
What if I don’t have instant yeast and only active dry yeast?
No worries! Just activate your active dry yeast in warm water with sugar first, and then proceed as usual. The recipe already includes activation instructions for active dry yeast.
How can I tell when the bread is fully cooked?
The bread should be golden brown on both sides and feel firm when pressed gently. A hollow sound when tapped on the bottom is another great indicator it’s cooked through.
Is a nonstick skillet essential?
A nonstick skillet makes flipping and cooking easier, but a well-seasoned cast iron pan or heavy-bottomed pot with a lid will work just as well. Just be sure to grease it lightly to avoid sticking.
Can I add herbs or spices to the dough?
Definitely! Adding dried herbs, garlic powder, or seeds can infuse exciting flavors directly into your No-Oven Stovetop Bread, making it uniquely your own.
Final Thoughts
Making bread without an oven might sound unusual, but this No-Oven Stovetop Bread recipe proves it’s both easy and incredibly rewarding. The process is simple and the results are deliciously fresh bread you’ll be proud to share. Give it a try the next time you want that warm, home-baked loaf without firing up the oven—you’ll be amazed by how comforting and fun stovetop baking can be!
PrintNo-Oven Stovetop Bread Recipe

This No-Oven Stovetop Bread recipe offers a simple and quick way to bake fresh, homemade bread using just a skillet on the stove. Perfect for those without an oven or anyone looking for an easy bread-making method, it produces a soft, golden loaf with a delightful crust and tender crumb.
- Prep Time: 15 minutes
- Cook Time: 25-27 minutes
- Total Time: 1 hour 40 minutes
- Yield: 1 medium loaf (about 8 inches in diameter) 1x
- Category: Bread
- Method: Stovetop Cooking
- Cuisine: American
- Diet: Vegetarian
Ingredients
Dry Ingredients
- 2 1/2 cups all-purpose flour
- 1 tsp salt
- 2 tsp sugar
- 2 tsp instant yeast (or active dry yeast)
Wet Ingredients
- 3/4 cup warm water (about 110°F/45°C)
- 2 tbsp vegetable oil or melted butter
Instructions
- Activate the Yeast (if using active dry yeast): In a small bowl, mix the warm water, sugar, and yeast. Let it sit for 5-10 minutes until the mixture becomes foamy, indicating the yeast is active and ready.
- Make the Dough: In a large bowl, combine the flour and salt. Add the yeast mixture (if using active dry yeast) or instant yeast directly, along with the oil and warm water. Stir until a sticky dough begins to form.
- Knead the Dough: Transfer the dough to a lightly floured surface and knead for 8-10 minutes until the dough is smooth, elastic, and no longer sticky.
- Let the Dough Rise: Place the dough in a lightly oiled bowl, cover it with a damp cloth or plastic wrap, and leave it in a warm area for about 1 hour or until it doubles in size.
- Shape the Dough: Punch down the risen dough to release air, then shape it into a round or oval loaf that will comfortably fit your skillet or pot.
- Cook the Bread: Preheat a nonstick skillet or a heavy-bottomed pot with a lid over low heat and lightly grease the surface to prevent sticking. Place the shaped dough inside and cover it with the lid.
- First Side Cooking: Cook the dough on low heat for 12-15 minutes, allowing the bottom to develop a golden crust while the inside cooks through.
- Flip and Cook Other Side: Using a spatula, carefully flip the bread and cook the other side for another 10-12 minutes until it is golden brown and fully cooked inside.
- Cool and Serve: Remove the bread from the skillet and transfer it to a wire rack to cool before slicing. Cooling helps set the crumb and makes slicing easier.
Notes
- Ensure the water for activating yeast is warm, not hot, to avoid killing the yeast.
- If using instant yeast, skip activating and add it directly to the dry ingredients.
- Low heat is essential when cooking to prevent burning the bread before it’s cooked through.
- This bread is best consumed fresh but can be stored wrapped in a cloth for up to 2 days.
- You can add herbs or garlic powder into the dough for extra flavor variation.
Nutrition
- Serving Size: 1 slice (1/8 of loaf)
- Calories: 140 kcal
- Sugar: 1.2 g
- Sodium: 210 mg
- Fat: 3.5 g
- Saturated Fat: 0.5 g
- Unsaturated Fat: 2.5 g
- Trans Fat: 0 g
- Carbohydrates: 24 g
- Fiber: 1.2 g
- Protein: 4 g
- Cholesterol: 0 mg
Keywords: no-oven bread, stovetop bread, easy homemade bread, skillet bread, yeast bread, bread without oven, quick bread recipe