2 Ingredient Cottage Cheese Bread Rolls Recipe
Introduction
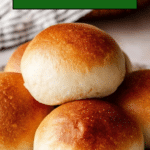
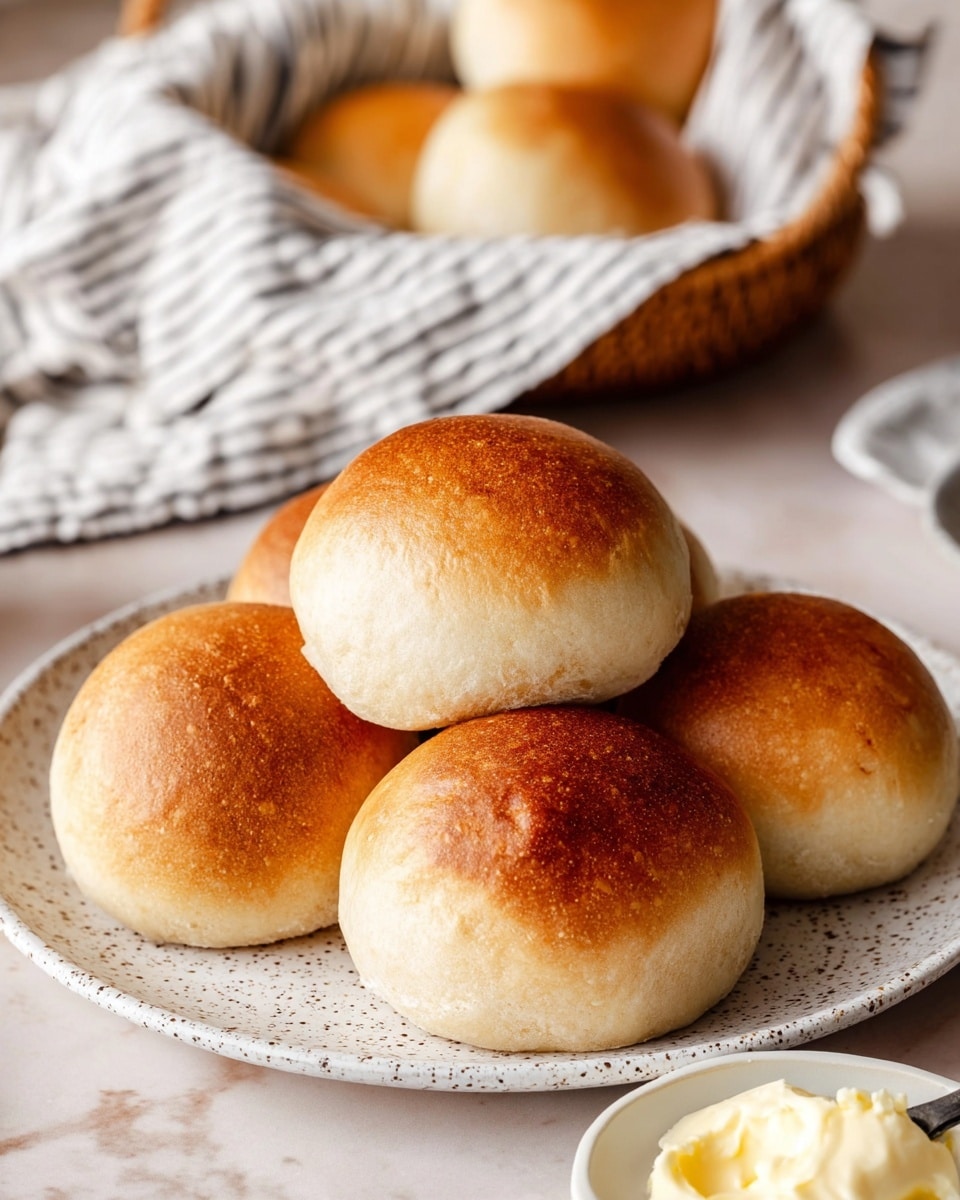
These 2 Ingredient Cottage Cheese Bread Rolls are a simple and wholesome homemade bread option. With just cottage cheese and self-rising flour, you can enjoy soft, protein-rich rolls perfect for any meal.
Ingredients
- 3 cups (672g) high protein cottage cheese, 1%
- 3 cups (390g) self-rising flour
Instructions
- Step 1: Add the cottage cheese to a blender and blend until completely smooth, achieving a yogurt-like consistency.
- Step 2: In a large mixing bowl, combine the self-rising flour and the blended cottage cheese. Mix with a spatula until a sticky dough forms.
- Step 3: Cover the bowl tightly with plastic wrap and refrigerate for at least 3 hours, or up to 12 hours for best results.
- Step 4: About 20 minutes before baking, preheat your oven to 400°F (205°C). Place a large oven-safe skillet or baking dish filled halfway with water on the bottom rack to create steam. Position another rack just above it for the bread.
- Step 5: Generously flour your work surface and turn the dough out carefully, adding more flour as needed to manage the sticky dough.
- Step 6: Divide the dough into 12 equal portions using a bench scraper or sharp knife for consistent rolls.
- Step 7: Shape each piece into a round ball by gathering the edges to the center and pinching to seal. Roll under your hand to create tension on the surface.
- Step 8: Place rolls seam side down on a parchment-lined baking sheet, spacing them about 2 inches apart. Optionally, brush the tops with egg white for a glossy finish.
- Step 9: Bake for 25 to 30 minutes until golden and cooked through. Cool on a wire rack for at least 30 minutes before serving.
Tips & Variations
- Use high protein, low-fat cottage cheese for better texture and less moisture.
- For a glossy crust, brush the rolls with egg white before baking.
- Weigh the dough portions to ensure even-sized rolls that bake evenly.
- Add herbs like rosemary or garlic powder to the dough for extra flavor.
Storage
Store leftover rolls in an airtight container in the refrigerator for up to 3 days or freeze them for up to 1 month. Reheat in the oven or toaster oven to restore their softness and crust.
How to Serve
Serve this delicious recipe with your favorite sides.
FAQs
Can I use regular cottage cheese instead of high protein?
Regular cottage cheese tends to have more moisture and may affect the dough consistency. Using high protein, low-fat cottage cheese gives better structure and less stickiness.
Do I need to add yeast or baking powder to this recipe?
No, the self-rising flour already contains baking powder and salt, so you don’t need to add additional leavening agents or yeast for these rolls.
Print2 Ingredient Cottage Cheese Bread Rolls Recipe

These 2 Ingredient Cottage Cheese Bread Rolls are a simple, high-protein bread option made with just cottage cheese and self-rising flour. They result in soft, golden rolls with minimal ingredients and effort, perfect for quick homemade bread that pairs well with any meal.
- Prep Time: 15 minutes
- Cook Time: 25-30 minutes
- Total Time: 3 hours 45 minutes (including resting time)
- Yield: 12 rolls 1x
- Category: Bread
- Method: Baking
- Cuisine: American
- Diet: Low Fat
Ingredients
Ingredients
- 3 cups (672g) high protein cottage cheese, 1%
- 3 cups (390g) self-rising flour
Instructions
- Blend Cottage Cheese: Add the high protein cottage cheese to a blender and blend until completely smooth with a yogurt-like consistency.
- Mix Dough: In a large mixing bowl, combine the self-rising flour and blended cottage cheese using a spatula until a sticky dough forms.
- Rest Dough: Cover the bowl tightly with plastic wrap and refrigerate for at least 3 hours or up to 12 hours to allow the dough to rest.
- Preheat Oven and Prepare Steam Bath: About 20 minutes before baking, preheat your oven to 400°F (205°C). Place a large oven-safe cast iron skillet or metal baking dish filled halfway with water on the bottom rack to create steam. Adjust the rack for the bread just above the water tray.
- Prepare Work Surface: Generously flour a work surface with self-rising flour. Carefully turn the chilled dough onto the floured surface, dusting the sticky dough with additional flour as needed.
- Divide Dough: Use a bench scraper or sharp knife to cut the dough into 12 equal pieces, weighing them if desired for uniformity.
- Shape Rolls: Shape each piece into a tight ball by pulling the edges to the center and pinching to seal. Place seam-side down and roll under your hand to create surface tension and form round, taut rolls.
- Arrange and Optional Egg Wash: Place the rolls spaced about 2 inches apart on a parchment-lined baking sheet. Optionally, brush tops with egg white wash for a glossy finish.
- Bake: Bake in the preheated oven for 25-30 minutes until golden brown and cooked through.
- Cool and Store: Cool the rolls on a wire rack for at least 30 minutes before serving. Store leftovers in an airtight container in the fridge or freezer and reheat before serving.
Notes
- Use high-protein cottage cheese with 1% fat for the best texture.
- Self-rising flour contains leavening agents; do not substitute with all-purpose flour unless you add baking powder and salt.
- Resting the dough in the fridge allows hydration and improves texture.
- Adding an egg white wash before baking gives the rolls a shiny, attractive crust.
- Use a cast iron skillet or oven-safe dish with water to create steam for a softer crust.
- Weighing dough portions ensures evenly sized rolls for uniform baking.
- Store any leftover rolls in an airtight container and reheat gently before serving to restore softness.
Keywords: cottage cheese bread rolls, two ingredient bread, high protein bread, easy bread recipe, homemade rolls, low fat bread